
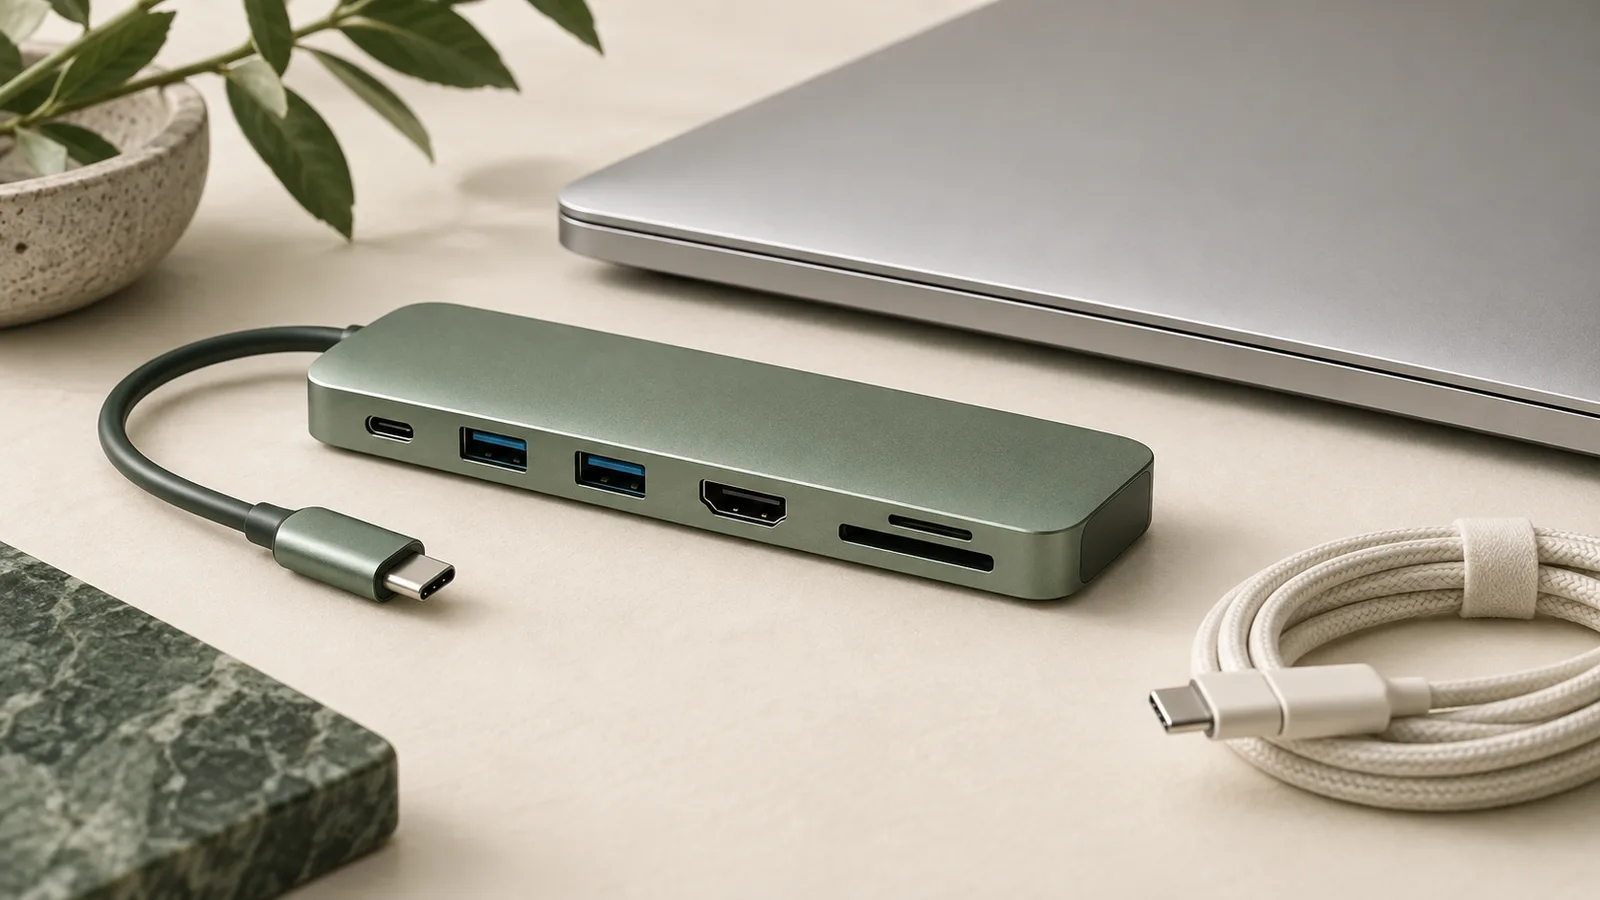
An accessory can physically connect to a device without supporting the task the buyer expects. That gap is easy to hide behind a clean product photograph and a row of familiar icons. For electronics listings, the image brief should separate the connector, the supported function, and the conditions needed to make that function work. Your designer needs that distinction before creating a compatibility chart or a lifestyle scene.
Build a compatibility record before designing a panel
Start with a product-owner-approved record of supported devices, functions, and limitations. Record exact model names when compatibility depends on a model or generation. Keep the source of each statement with the brief, whether it comes from the manufacturer’s documentation or a verified test record. Do not use a competitor’s chart as evidence for your own accessory.
For a hub or adapter, the shape of the connector is only part of the story. Ask the product owner which tasks the accessory supports and which requirements belong to the connected device, cable, or power supply. The designer should not infer these capabilities from a port photograph. If the technical information is incomplete, leave the claim unresolved until the product team answers it.
Separate physical fit, function and setup requirements
Use different visual treatments for the questions that a shopper might otherwise combine. A close-up can identify the connector. A diagram can show which devices connect to which ports. A concise compatibility table can state the supported setup. Putting all of this into a single unlabeled hero composition makes the buyer do the interpretation.
Keep limitations beside the relevant claim. If a function depends on a particular device capability or an additional component, a distant footnote may be missed. Use plain language supplied or checked by the product owner. If the condition takes more space than the headline, give it a dedicated panel instead of shrinking the text to preserve a decorative layout.
DESIGN DECISION
- 01Physical fitShow the connector and port.
- 02FunctionExplain the supported task.
- 03ConditionsState what else the setup needs.
Make connection diagrams physically believable
Trace each cable from its source to its destination before approving a setup illustration. Show the correct end of the cable, the right port, and a plausible relationship between the devices. A beautiful desk scene with impossible connections undermines the explanation. Use reference photographs of the actual setup rather than trusting a generic stock image to represent the hardware.
AI-generated concepts can help choose a lighting style or background, but they can also invent ports and connectors. Keep the real accessory as the reference for production artwork. During retouching, check the number and placement of ports, indicator lights, vents, and buttons. These details are functional information, so removing them to make the product look cleaner can change what the image communicates.
Show what arrives and what is only a demonstration
Separate the included accessories from the equipment used to demonstrate the product. A laptop, monitor, or phone in a lifestyle image can establish context, but the included-items panel should make the actual purchase unambiguous. If a power supply or cable is required but sold separately, use the approved product wording to explain that relationship close to the setup illustration.
A flat-lay of the box contents is often easier to understand than a busy scene containing everything at once. Identify each included component by the name used in the listing and manual. Keep the shown quantities and connector types consistent with the exact SKU. If a bundle changes, update the image set as well as the text rather than relying on a small note elsewhere on the page.
Review compatibility as information, not decoration
Have a technically responsible person review every compatibility label independently of the design review. Then ask a reader unfamiliar with the product to explain what they need and what they can do with it. These reviews catch different problems: the first checks correctness, while the second checks whether the explanation can be understood without product-team knowledge.
Preview the chart at a realistic mobile width. Long device lists may be better split by function or family, provided the grouping remains accurate. Avoid using logos or recognizable product names as decoration; include references only when they serve a clear, verified compatibility explanation and are appropriate for the listing. Keep the approved source record with the final artwork so future revisions have a reliable starting point.
Related Reading
Official references
The recommendations above are design guidance. Check the current Amazon guidance for the marketplace and category before uploading.
Frequently Asked Questions
Can a connector photo prove that an accessory is compatible?
It shows physical appearance, not every supported function. Use product-owner-approved compatibility information to explain the intended setup and its requirements.
Should limitations be placed only in small print?
Put a condition beside the feature it qualifies. If the wording cannot be read comfortably, give the setup or limitation more space in the image sequence.
What does an electronics infographic designer need?
Provide accurate product photos, a verified compatibility record, included-item details, and reference setups. Have a technically responsible person approve the final claims and diagrams.
Conclusion
An electronics infographic should let a shopper distinguish what connects, what works, and what else the setup requires. Build that explanation from verified technical information, then use photography and diagrams to make the relationships visible without asking the shopper to guess.