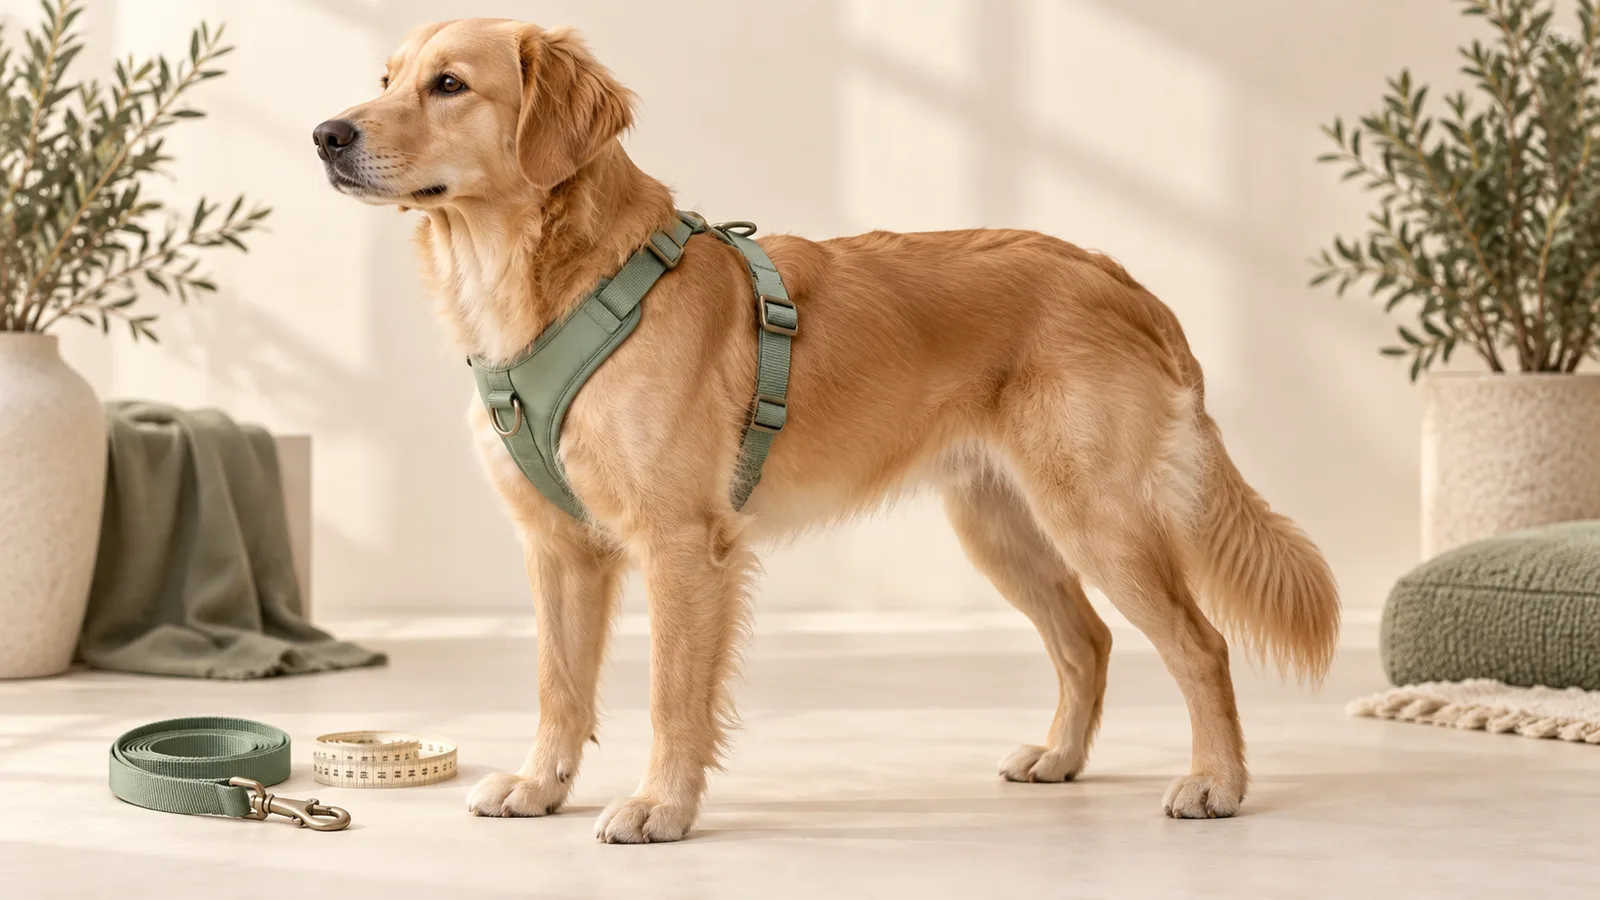
A photograph of a dog wearing a harness helps a shopper imagine the product in use. It does not tell them which size to order for their own dog. Breed labels, attractive lifestyle scenes, and a crowded measurement table often leave the central decision unresolved. A useful pet accessory gallery connects the brand’s measurement method with the actual size chart and shows how the physical product adjusts.
Use the product’s measurement method as the starting point
Ask the brand for the approved method used to size this specific harness. Confirm which areas are measured, how those measurements map to the product’s sizes, and what the brand advises when a measurement falls between options. Do not borrow a chart from a similar-looking harness. Different patterns and adjustment systems can make similar size names represent different fits.
Turn the supplied method into a clear visual instruction with a recognizable side or front view. A measurement line should indicate the intended location, rather than floating around the dog as a decorative curve. Have the product owner check both the illustration and the wording. The designer is explaining the manufacturer’s guidance, not inventing a new fitting rule.
Connect measuring, choosing and checking
A size table should be the next step after the measurement illustration. Use the same measurement names in both places, and make the unit system explicit. Keep size labels identical to the selectable options in the listing. If the brand sells different harness models, ensure the chart names the right model so shoppers do not transfer a size from another range by mistake.
Then show the adjustment points on the actual product. A buckle close-up and an in-use view answer different questions: one explains construction, while the other helps the buyer understand the arrangement. Keep brand-approved fit guidance beside the relevant view. Avoid turning a photo of one dog into a broad promise that the same size suits every animal with a similar appearance.
DESIGN DECISION
- 01MeasureIllustrate the brand’s measurement method.
- 02ChooseMatch the measurement to the actual size chart.
- 03CheckShow adjustment points and fit references.
Photograph the product without hiding how it works
Choose an in-use angle that leaves the straps and attachment points visible. Long fur, a twisted leash, or a dramatic crop may conceal exactly the details the shopper needs. Use a calm, representative pose and compare the product against the sample after retouching. Preserve the strap routing and hardware instead of smoothing away practical details to make the photograph look simpler.
A separate product-only view helps explain shape when the worn photograph is visually complex. For a reversible or adjustable item, show the relevant states clearly and label them using approved product language. If a leash is used in the scene but is not included, make the included-items explanation easy to find. Do not rely on a shopper recognizing the difference between a prop and part of a set.
Keep material and safety language grounded in evidence
A close-up can show the weave, lining, stitching, or fastening mechanism. It does not prove a broad performance or safety claim. Ask the brand to approve any wording about strength, visibility, restraint, or intended use, and keep the evidence behind that wording with the brief. Attractive badges should not be used to imply an unverified certification.
The same discipline applies to illustrations of outdoor use. A scene should match the product’s stated purpose and limitations. Do not add an activity or attachment method simply because it makes an energetic composition. If the intended use is unclear, resolve the product question before producing the scene. The gallery should help the buyer understand the actual item rather than enlarge its promise.
Test the guide with a reader who has not seen the product
Give the draft guide to someone who is unfamiliar with the harness and ask them to describe the measurement process and find the relevant size. Watch for mismatched terms, skipped units, and reliance on breed or weight alone when the supplied chart requires other measurements. A chart that makes sense to the product team may still be hard for a new customer to follow.
Check the images on a phone and make sure the size table remains readable. If it needs excessive zooming, split instruction from the table or simplify the layout without removing necessary information. Keep the exported artwork tied to the correct model and SKU so a later catalog update does not accidentally reuse an outdated chart. Good file naming is part of maintaining an accurate listing, not just studio housekeeping.
Related Reading
Official references
The recommendations above are design guidance. Check the current Amazon guidance for the marketplace and category before uploading.
Frequently Asked Questions
Is a breed name enough to recommend a harness size?
Use the specific product’s approved measurement chart. A lifestyle photograph or breed example should not replace the measurements required by that chart.
Can I reuse one size chart across all pet accessories?
Only when the product owner confirms it accurately applies to those items. Different patterns, models, and adjustment systems may need separate guidance.
What should be included in a pet product image brief?
Provide the actual item, approved size chart and fitting method, supported product claims, and a list of included accessories. Include reference photos that clearly show the hardware and strap arrangement.
Conclusion
A useful harness gallery connects measurement instructions to an accurate size choice and a recognizable product. Keep that chain intact from the first brief to the uploaded images, and use lifestyle photography to support the explanation rather than substitute for it.